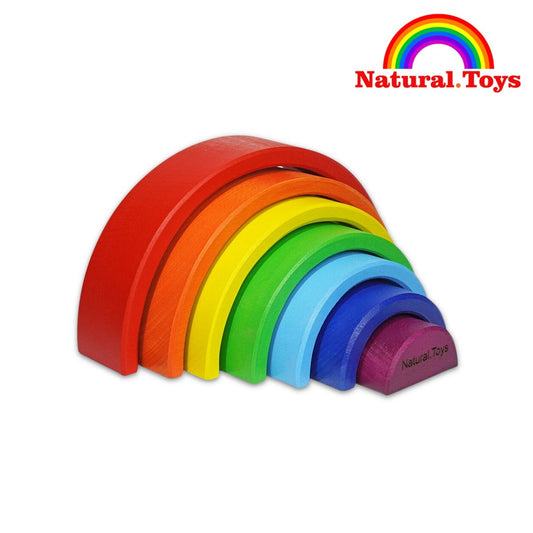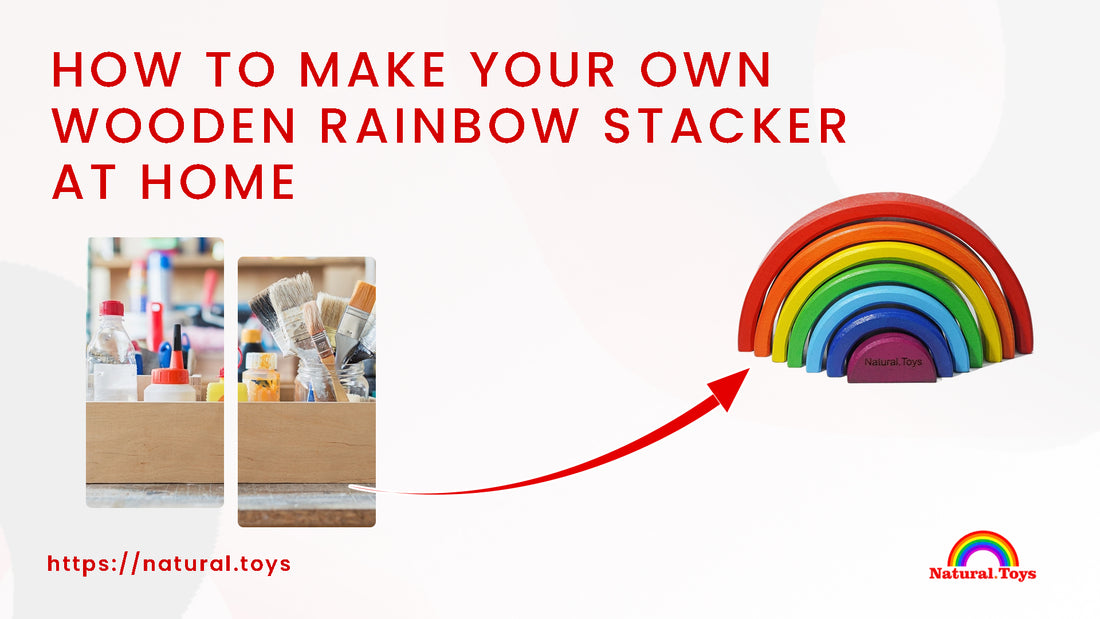

Rainbow stackers are a popular and timeless toy that can help children learn important skills such as color recognition, problem-solving, and hand-eye coordination. Instead of buying a rainbow stacker, why not make your own wooden rainbow stacker at home? This is a fun and easy project that can be completed with just a few tools and supplies. In this article, we’ll provide step-by-step instructions on how to make your own wooden rainbow stacker at home.
Step 1: Gather Your Supplies
To make your own wooden rainbow stacker, you will need the following supplies:
- Wooden blocks (in various sizes)
- Sandpaper
- Paint (in rainbow colors)
- Paintbrushes
- Wood glue
- Saw
You can find wooden blocks at most craft stores or online. If you can’t find wooden blocks, you can cut your own from a piece of wood using a saw.
Step 2: Sand the Wooden Blocks
Before you begin painting, you need to sand the wooden blocks. Sanding will smooth out any rough edges or splinters and prepare the blocks for painting. Use a fine-grit sandpaper to sand the blocks, and be sure to sand all sides and edges.
Step 3: Paint the Blocks
Once the blocks are sanded, it’s time to paint them. Use rainbow colors (red, orange, yellow, green, blue, and purple) to paint each block a different color. You can use acrylic or tempera paint for this project. Allow the paint to dry completely before moving on to the next step.
Step 4: Glue the Blocks Together
Once the paint is dry, it’s time to glue the blocks together. Use wood glue to attach the blocks in a curved rainbow shape. Start with the largest block at the bottom and work your way up to the smallest block at the top. Be sure to use enough glue to hold the blocks together securely.
Step 5: Let the Glue Dry
After gluing the blocks together, allow the glue to dry completely. This may take several hours or overnight, depending on the type of glue you used.
Step 6: Sand the Edges
After the glue is dry, use sandpaper to sand the edges of the rainbow stacker. This will smooth out any rough edges or excess glue.
Step 7: Enjoy Your New Wooden Rainbow Stacker
Congratulations! You’ve just made your own wooden rainbow stacker. This toy is not only fun for children to play with, but it’s also a beautiful addition to any nursery or playroom.